
The Secret Weapon: Mastering Snapseed Masking for Moody Irish Landscapes
You’re standing in the gap at Dunloe, or maybe crouched low in a damp forest in Wicklow capturing a perfect fly agaric mushroom. The lighting is dramatic - typical Irish weather, clouds rolling in, shafts of light hitting the green. You snap the photo on your phone.
But when you open it later? It looks… flat.
If you brighten the shadows to see the grass, the sky blows out to pure white. If you darken the sky to make it moody, the foreground turns into black mud. Global edits (changing the whole photo at once) are the enemy of atmosphere.
Enter the Masking Brush in Snapseed. This is, hands down, the most powerful tool in a mobile photographer's pocket. It allows you to "paint" an edit exactly where you want it, leaving the rest of the photo untouched.
Here is your step-by-step guide to using the hidden Masking Brush features in Snapseed to take your photos from "snapshot" to "art."
Phase 1: The Concept (The "Stacks" Secret)
Most people open Snapseed, apply a filter, and save. But Snapseed works in layers, just like professional desktop software. Every time you apply an edit (like Tune Image, HDR Scape, or Curves), it gets stacked on top of the original.
The Masking Brush lets you look at that stack, pick one specific layer, and say, "I only want this edit to show up here."
Phase 2: The Step-by-Step Tutorial
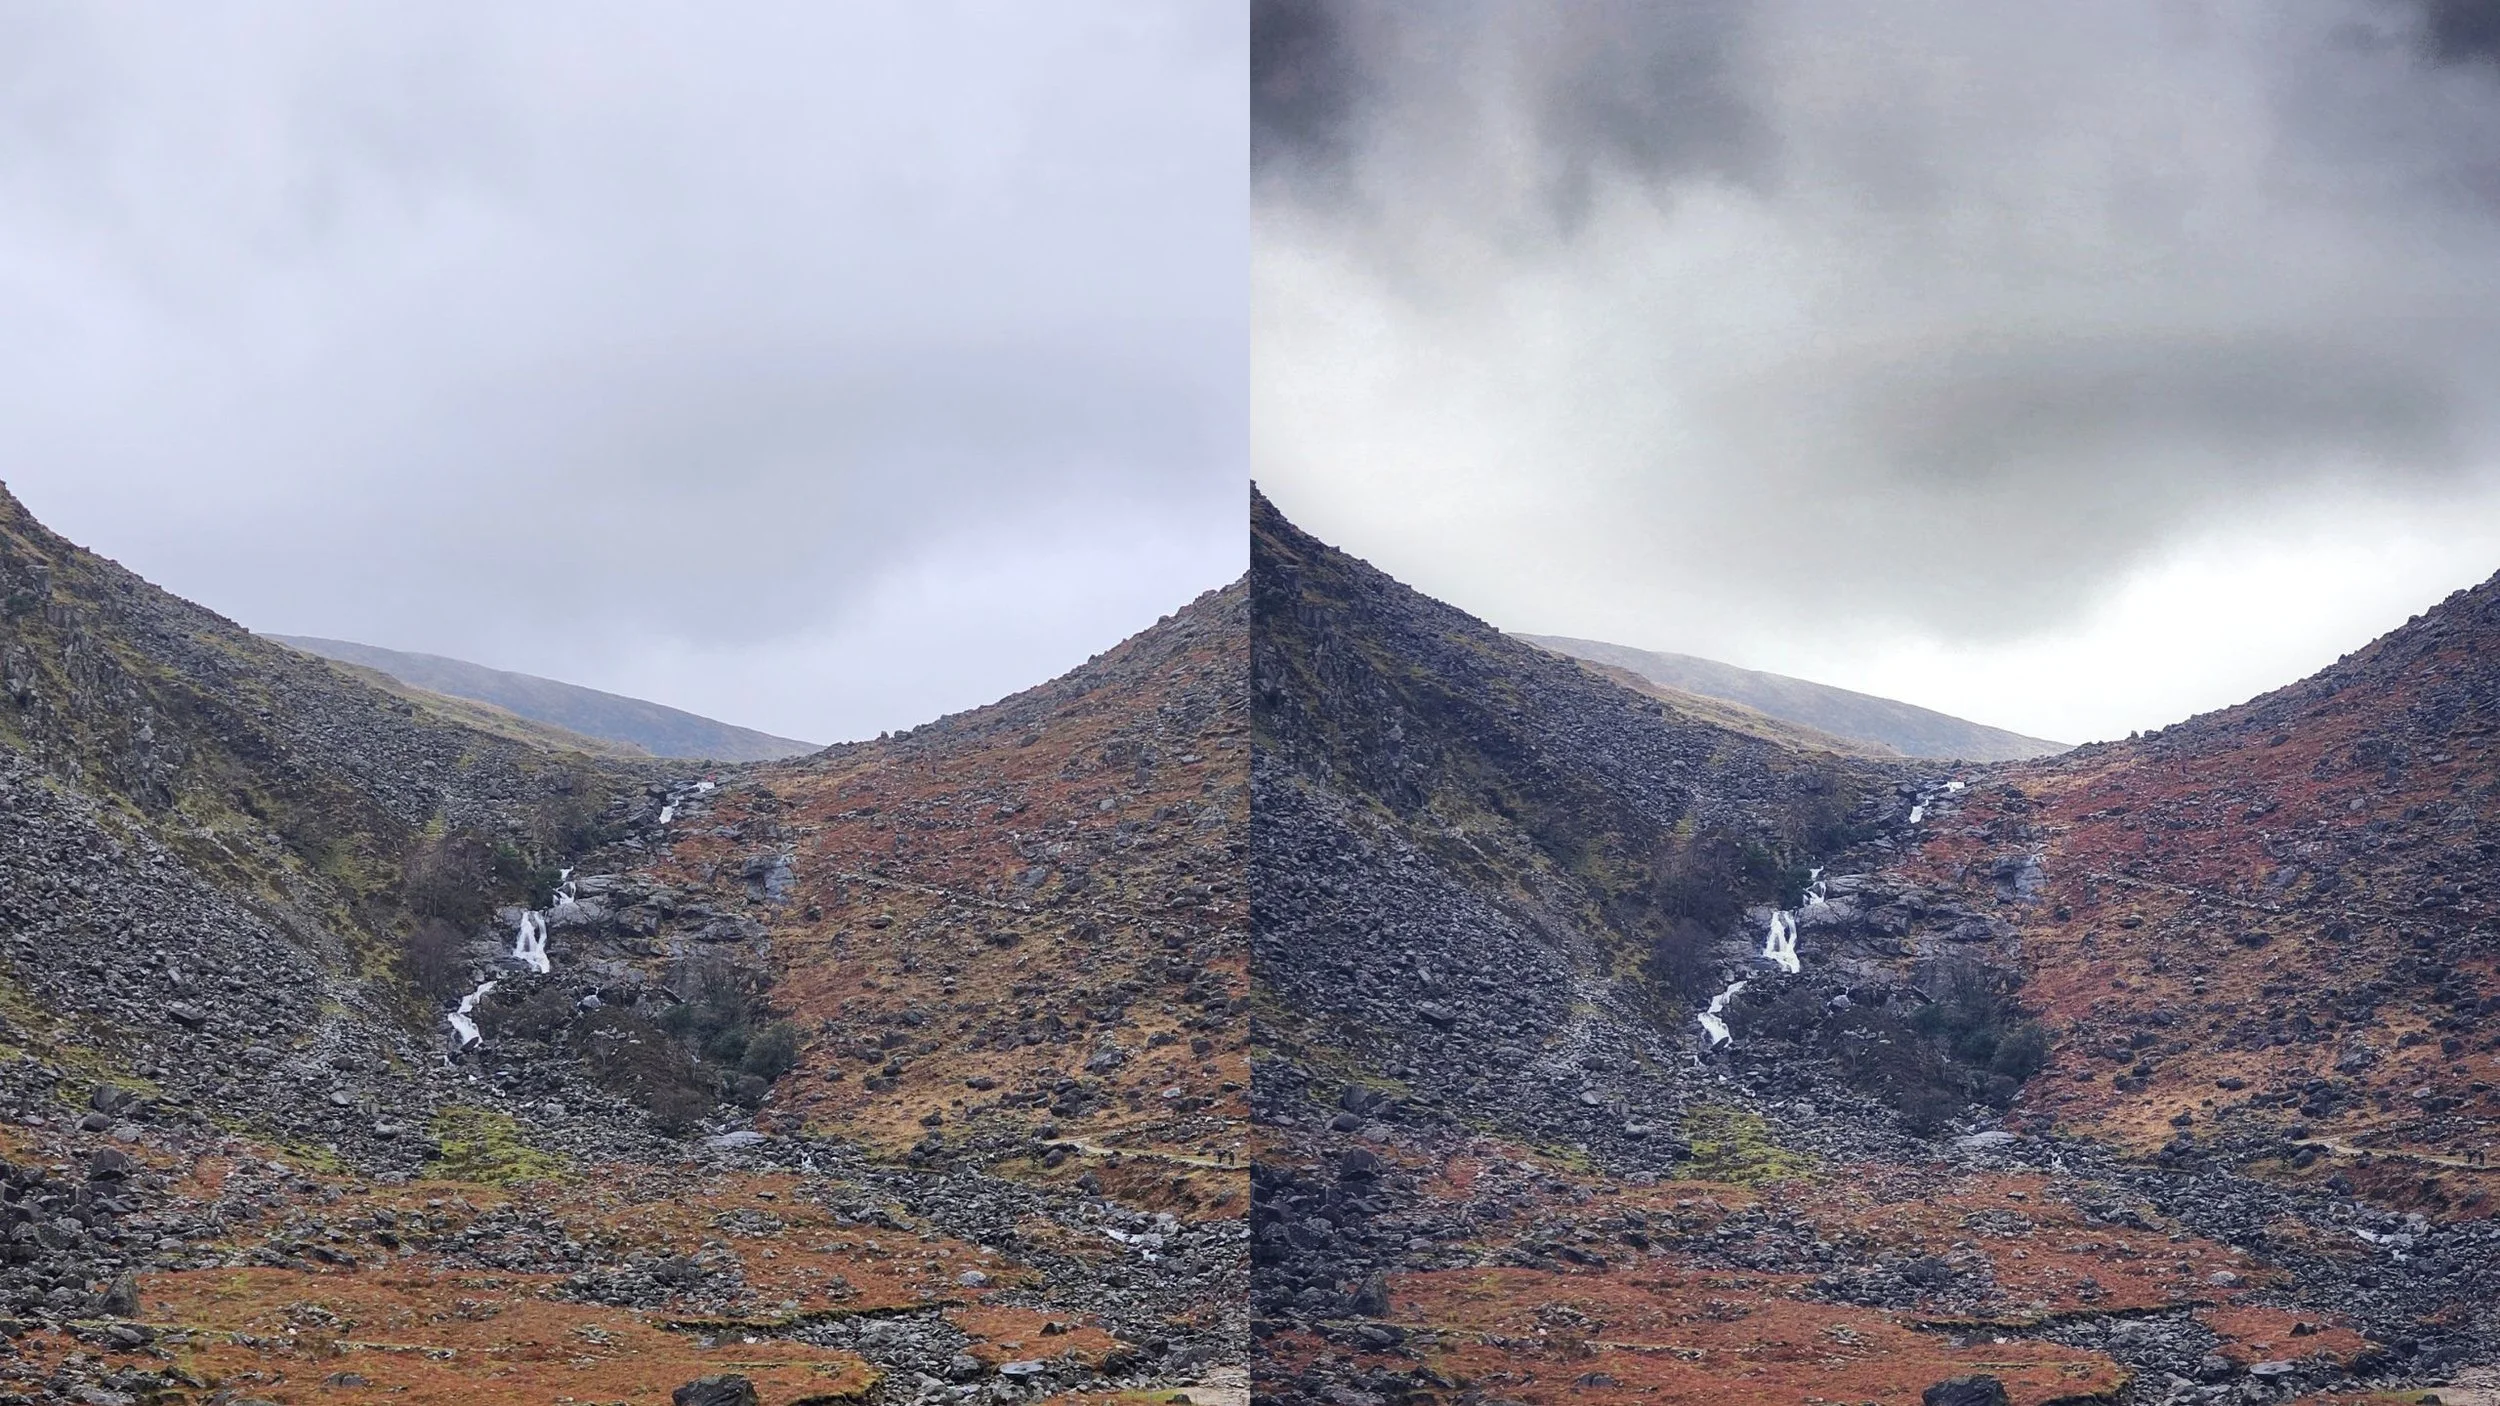
Let’s say we have a photo of a mountainside, but the sky looks a little plain and washed out. We want to make the cloud textures stand out, but not interfere with the details of the land below.
Step 1: Apply the "Extreme" Edit First, make the edit you want for one specific part of the image, even if it ruins the rest.
Open Tools > Drama (or whichever effect or edit you want to make).
Crank up the edit to make the entire image overdone - do it more than is necessary (you’ll alter it in the next step).
Don't worry if the image looks a bit ridiculous right now. Hit the Checkmark to apply.
Step 2: Find the Hidden Menu This is where the magic happens.
Look at the top of the screen (or bottom on some layouts) for the Edit History / Stacks icon. It looks like a stack of squares with a curved arrow over it.
Tap it and select "View Edits".
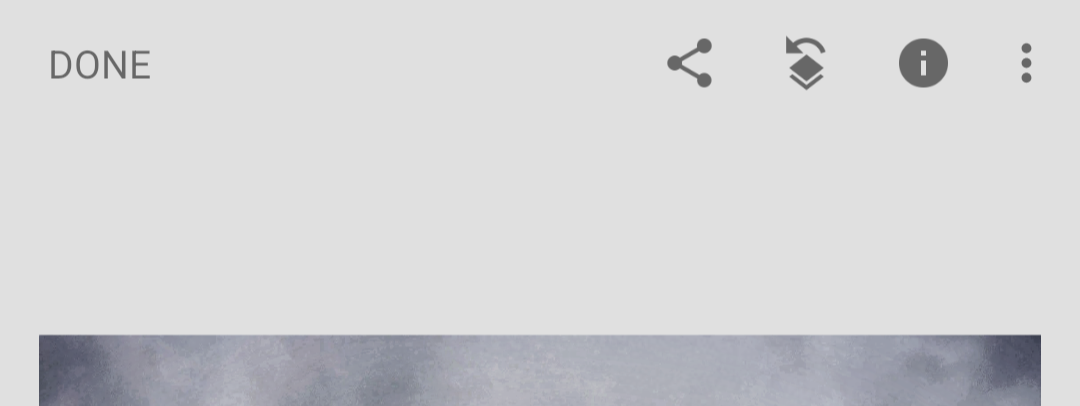
Tap the stack of squares with the arrow over it to see the Edit History.
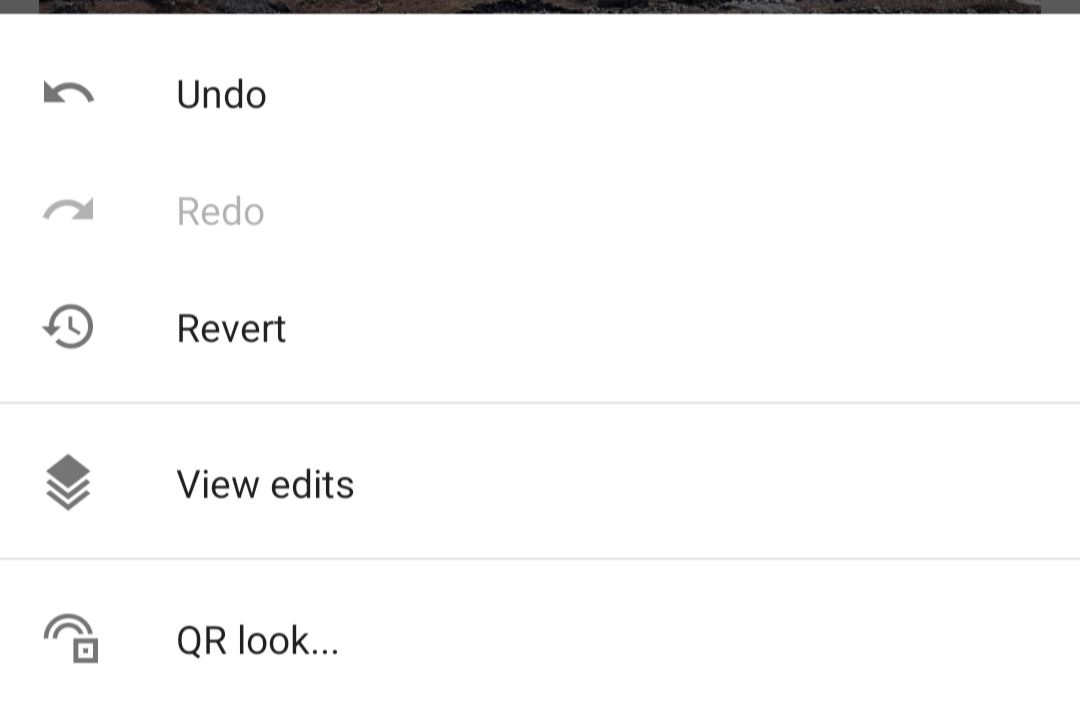
Then tap “View edits.”
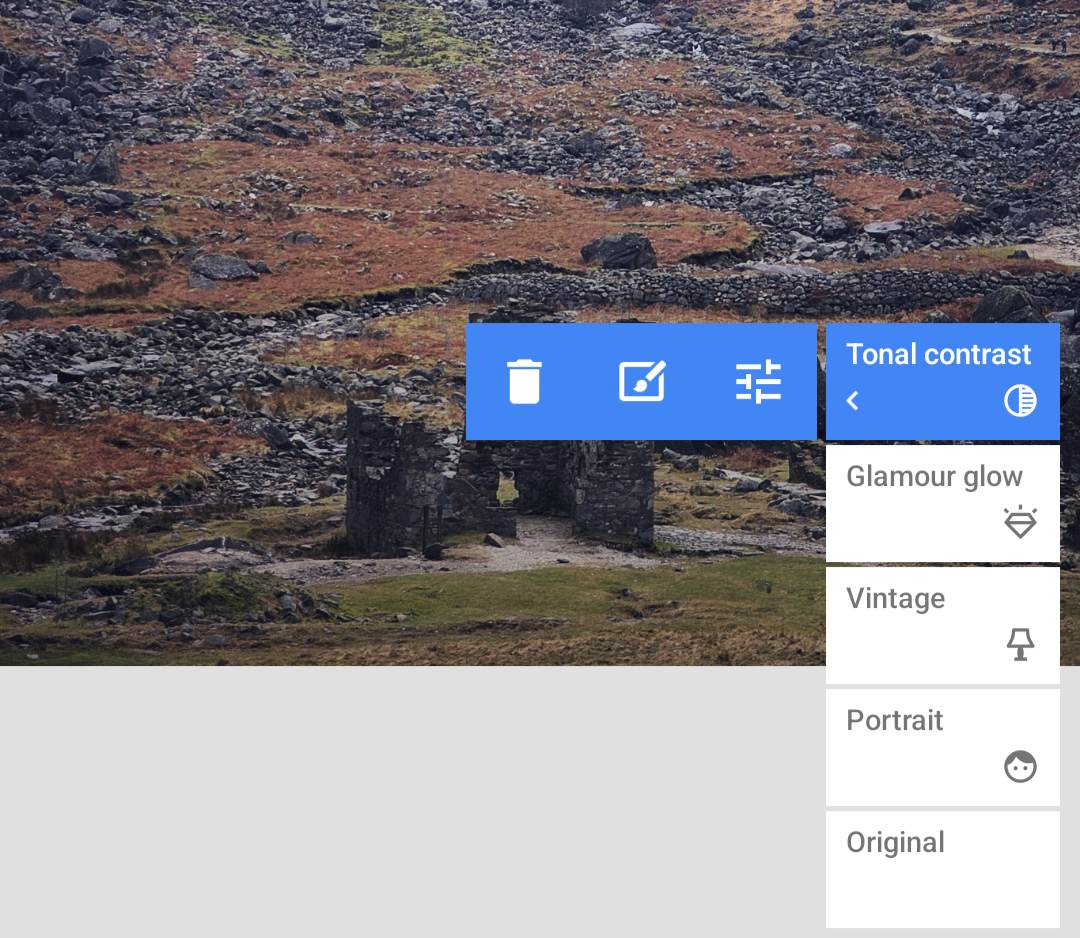
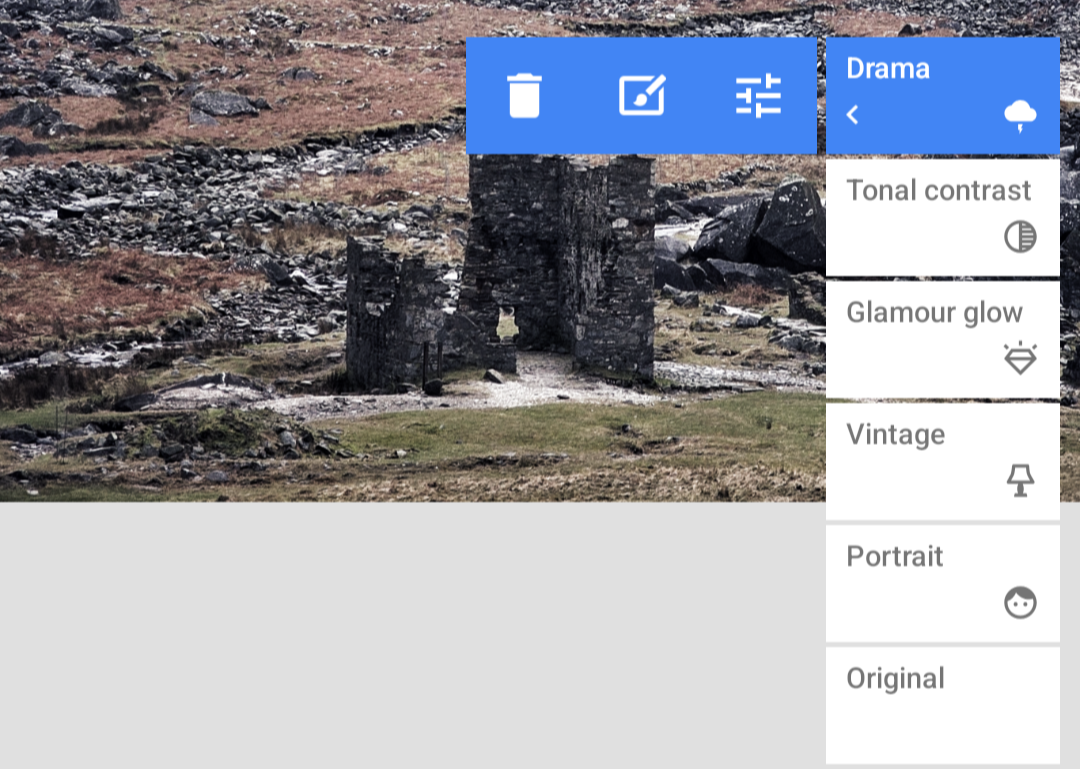
Step 3: Activate the Brush You will now see a list of every edit you’ve made on the bottom right.
Tap the blue box for the edit you just made (e.g., Tune Image).
Three small icons will appear. Tap the middle one: the Brush in a box icon.
Step 4: Paint the Effect Now your photo looks like the original again! Don't panic. You are currently looking at a "black mask", meaning the edit is hidden.
The Controls: At the bottom, you’ll see numbers (0, 25, 50, 75, 100). Set it to 100 to paint the effect at full strength.
The Action: Use your finger to paint over the sky. As you paint, that dark, moody edit you created in Step 1 will appear only where your finger touches.
### 💡 PRO TIP: The "Red Eye" Mode
It can be hard to see exactly where you are painting, especially on a small screen.
While in the Masking interface, tap the Eye Icon at the bottom of the screen. This will overlay a translucent red ruby mask on your image.
Red = The edit is applied here.
No Red = No edit here.
Toggle this on and off while you paint to ensure you haven't missed any spots or accidentally painted over a tree branch!
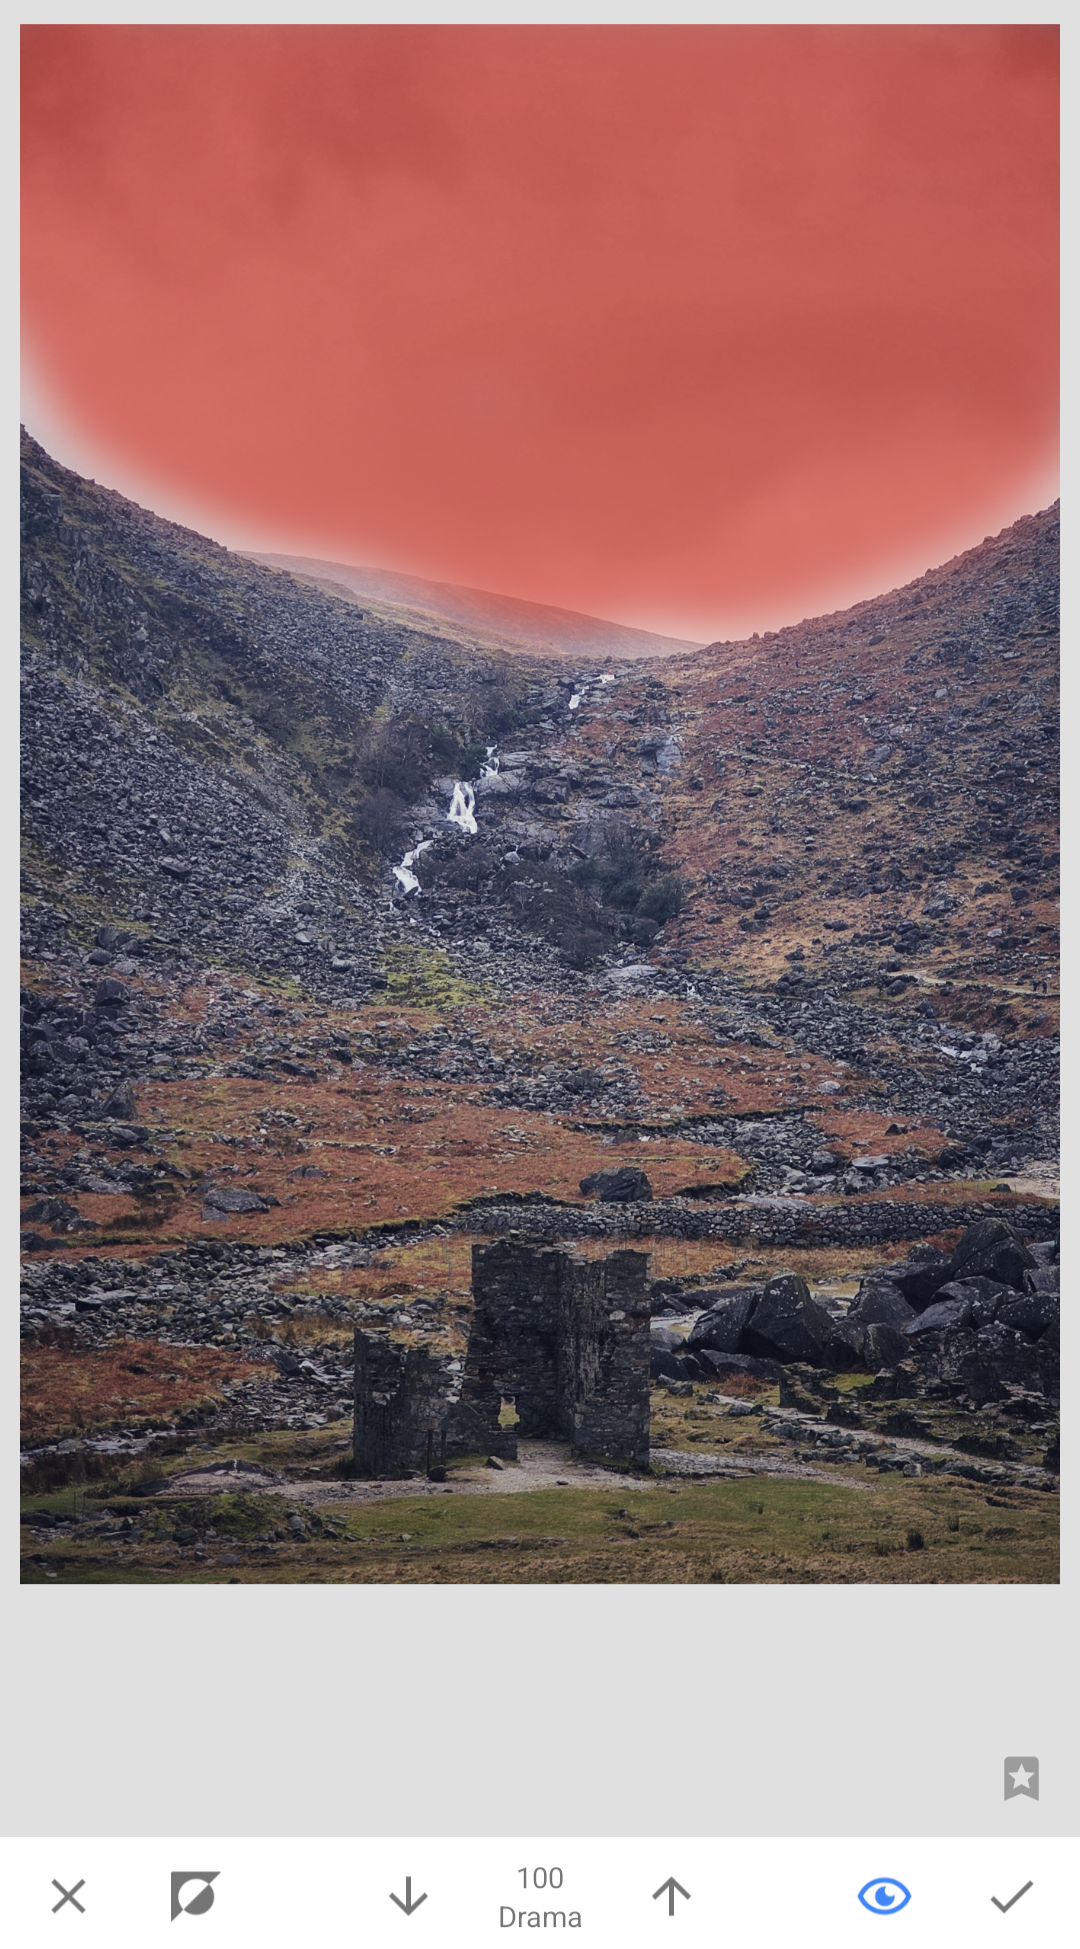
PRO TIP!
Tap the eye icon at the bottom (so that it turns blue (left)) and then “paint” the red tint with your finger where you want the edit to show.
Step 5: Refine the Edge
Zoom In: Pinch to zoom in on the edge of the sky for precision if needed.
Erase: If you accidentally paint over the mountain, set the brush number to 0 (Eraser) and paint over the mistake to remove the edit.
Feathering: Use 50 or 75 opacity for softer transitions, perfect for blending clouds or mist.
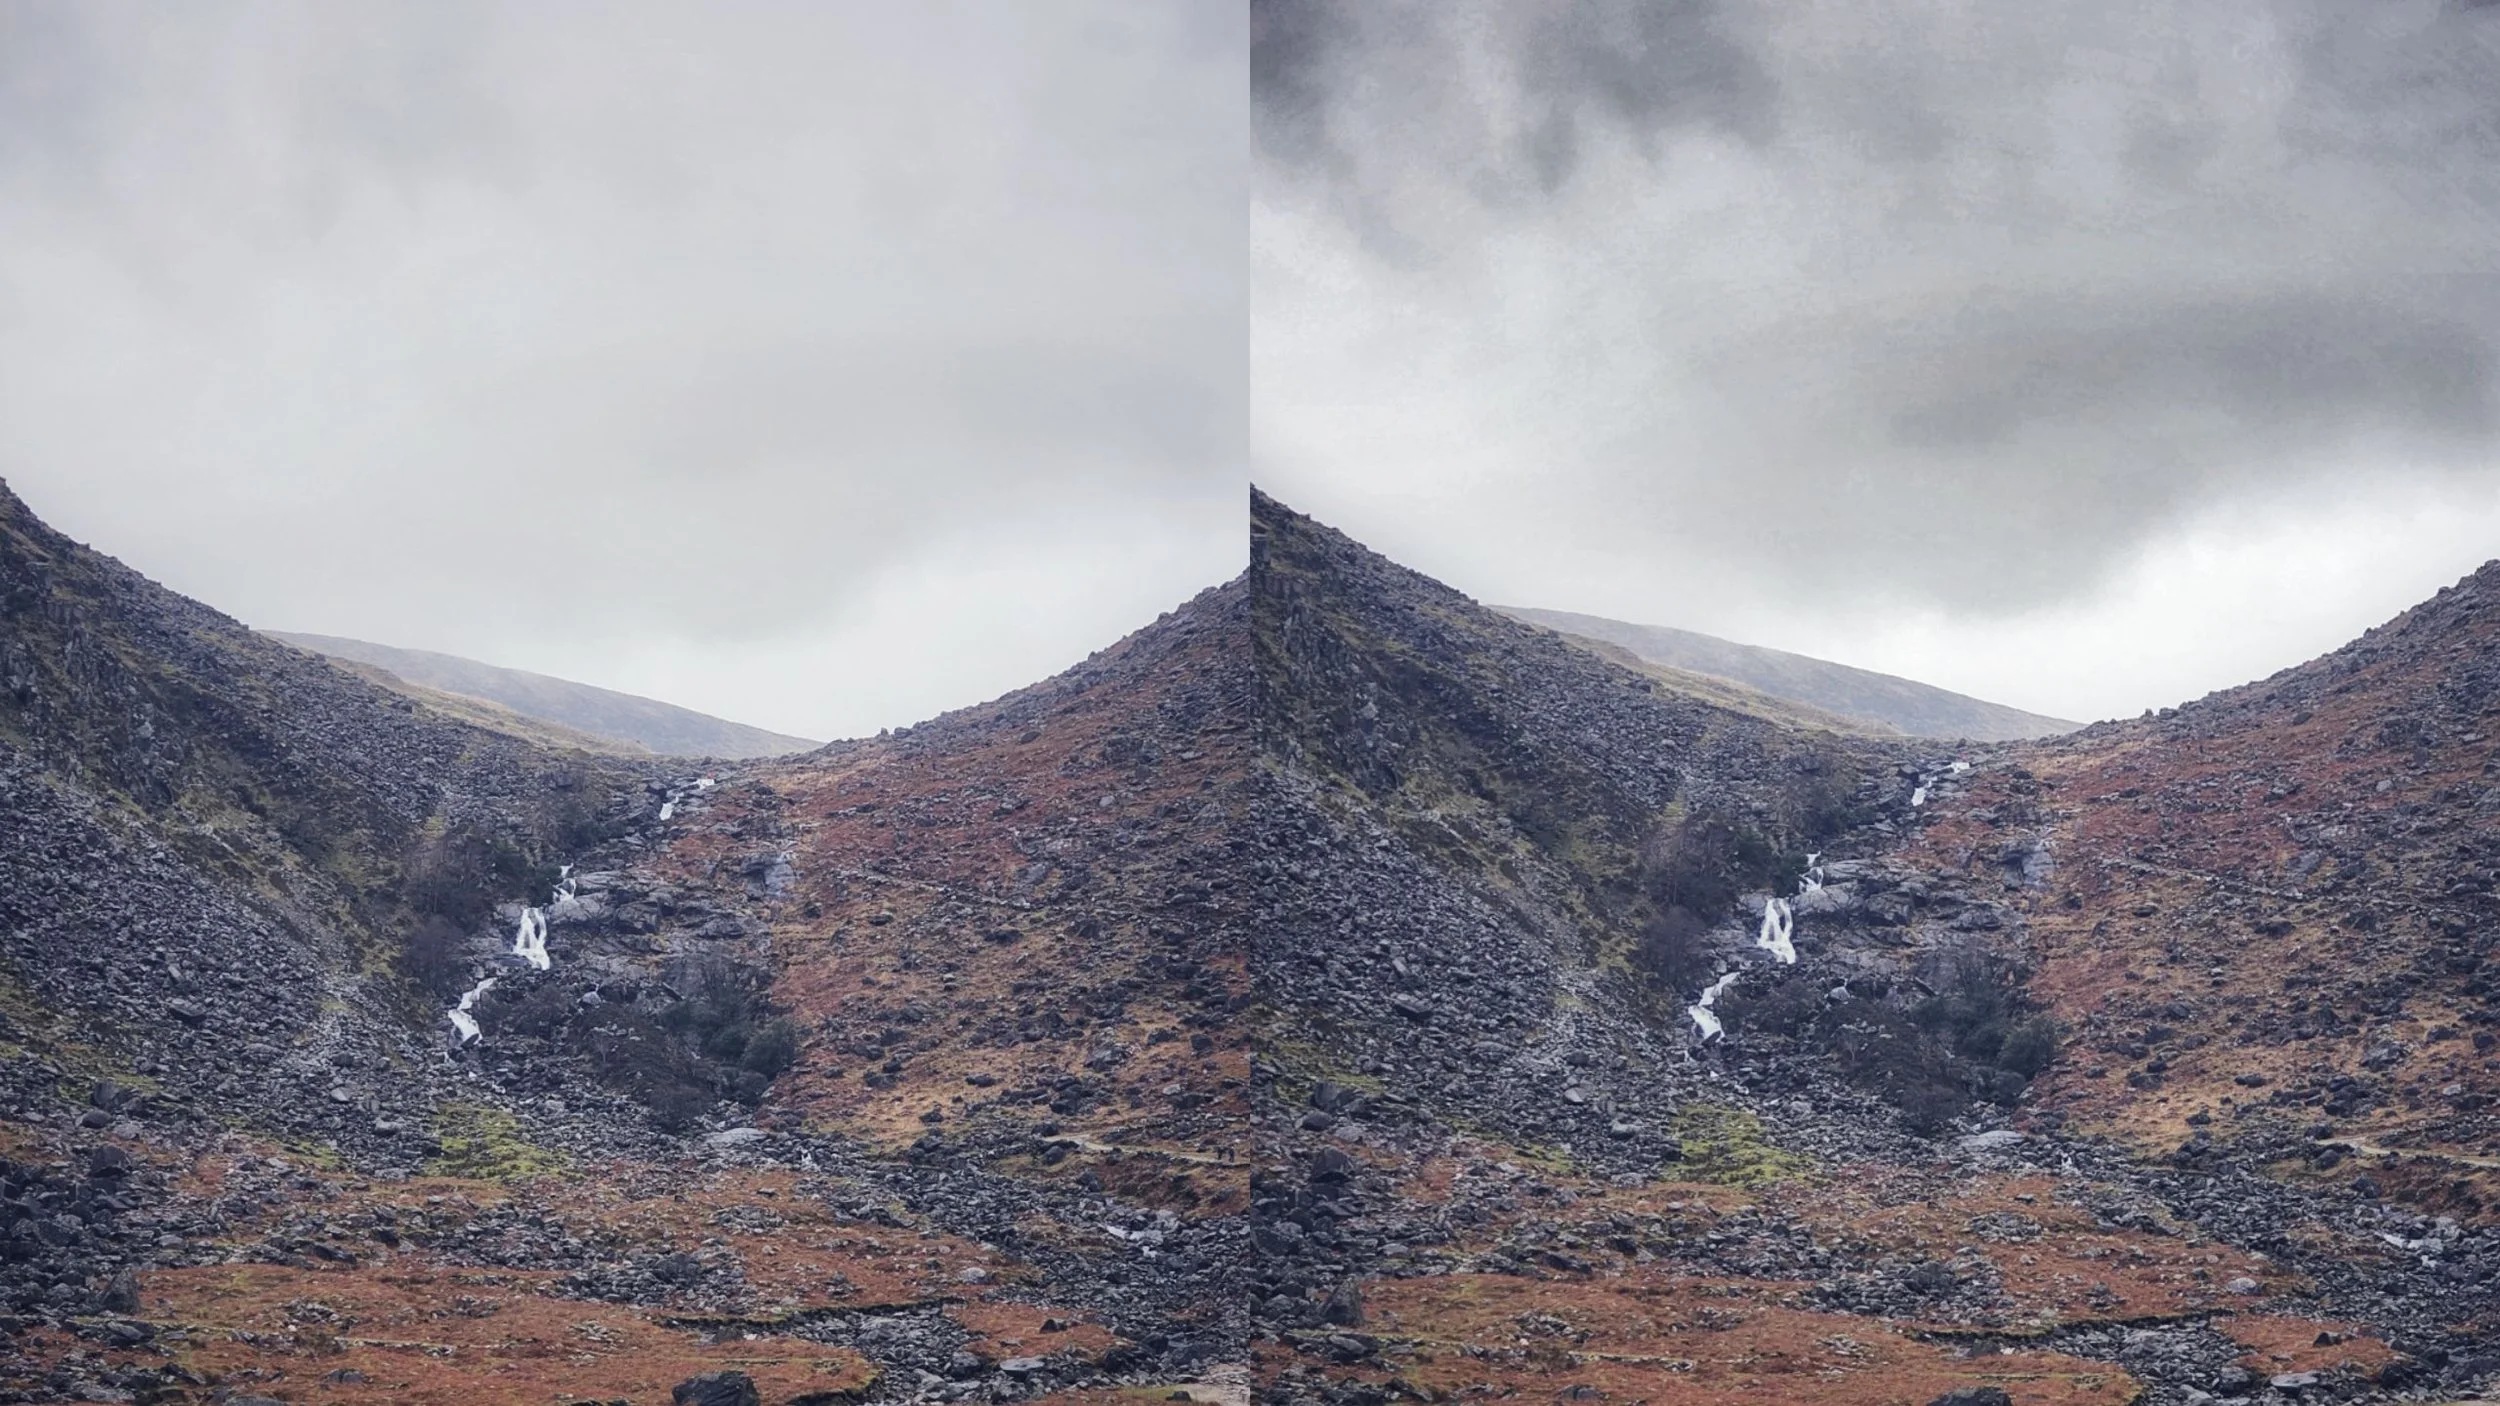
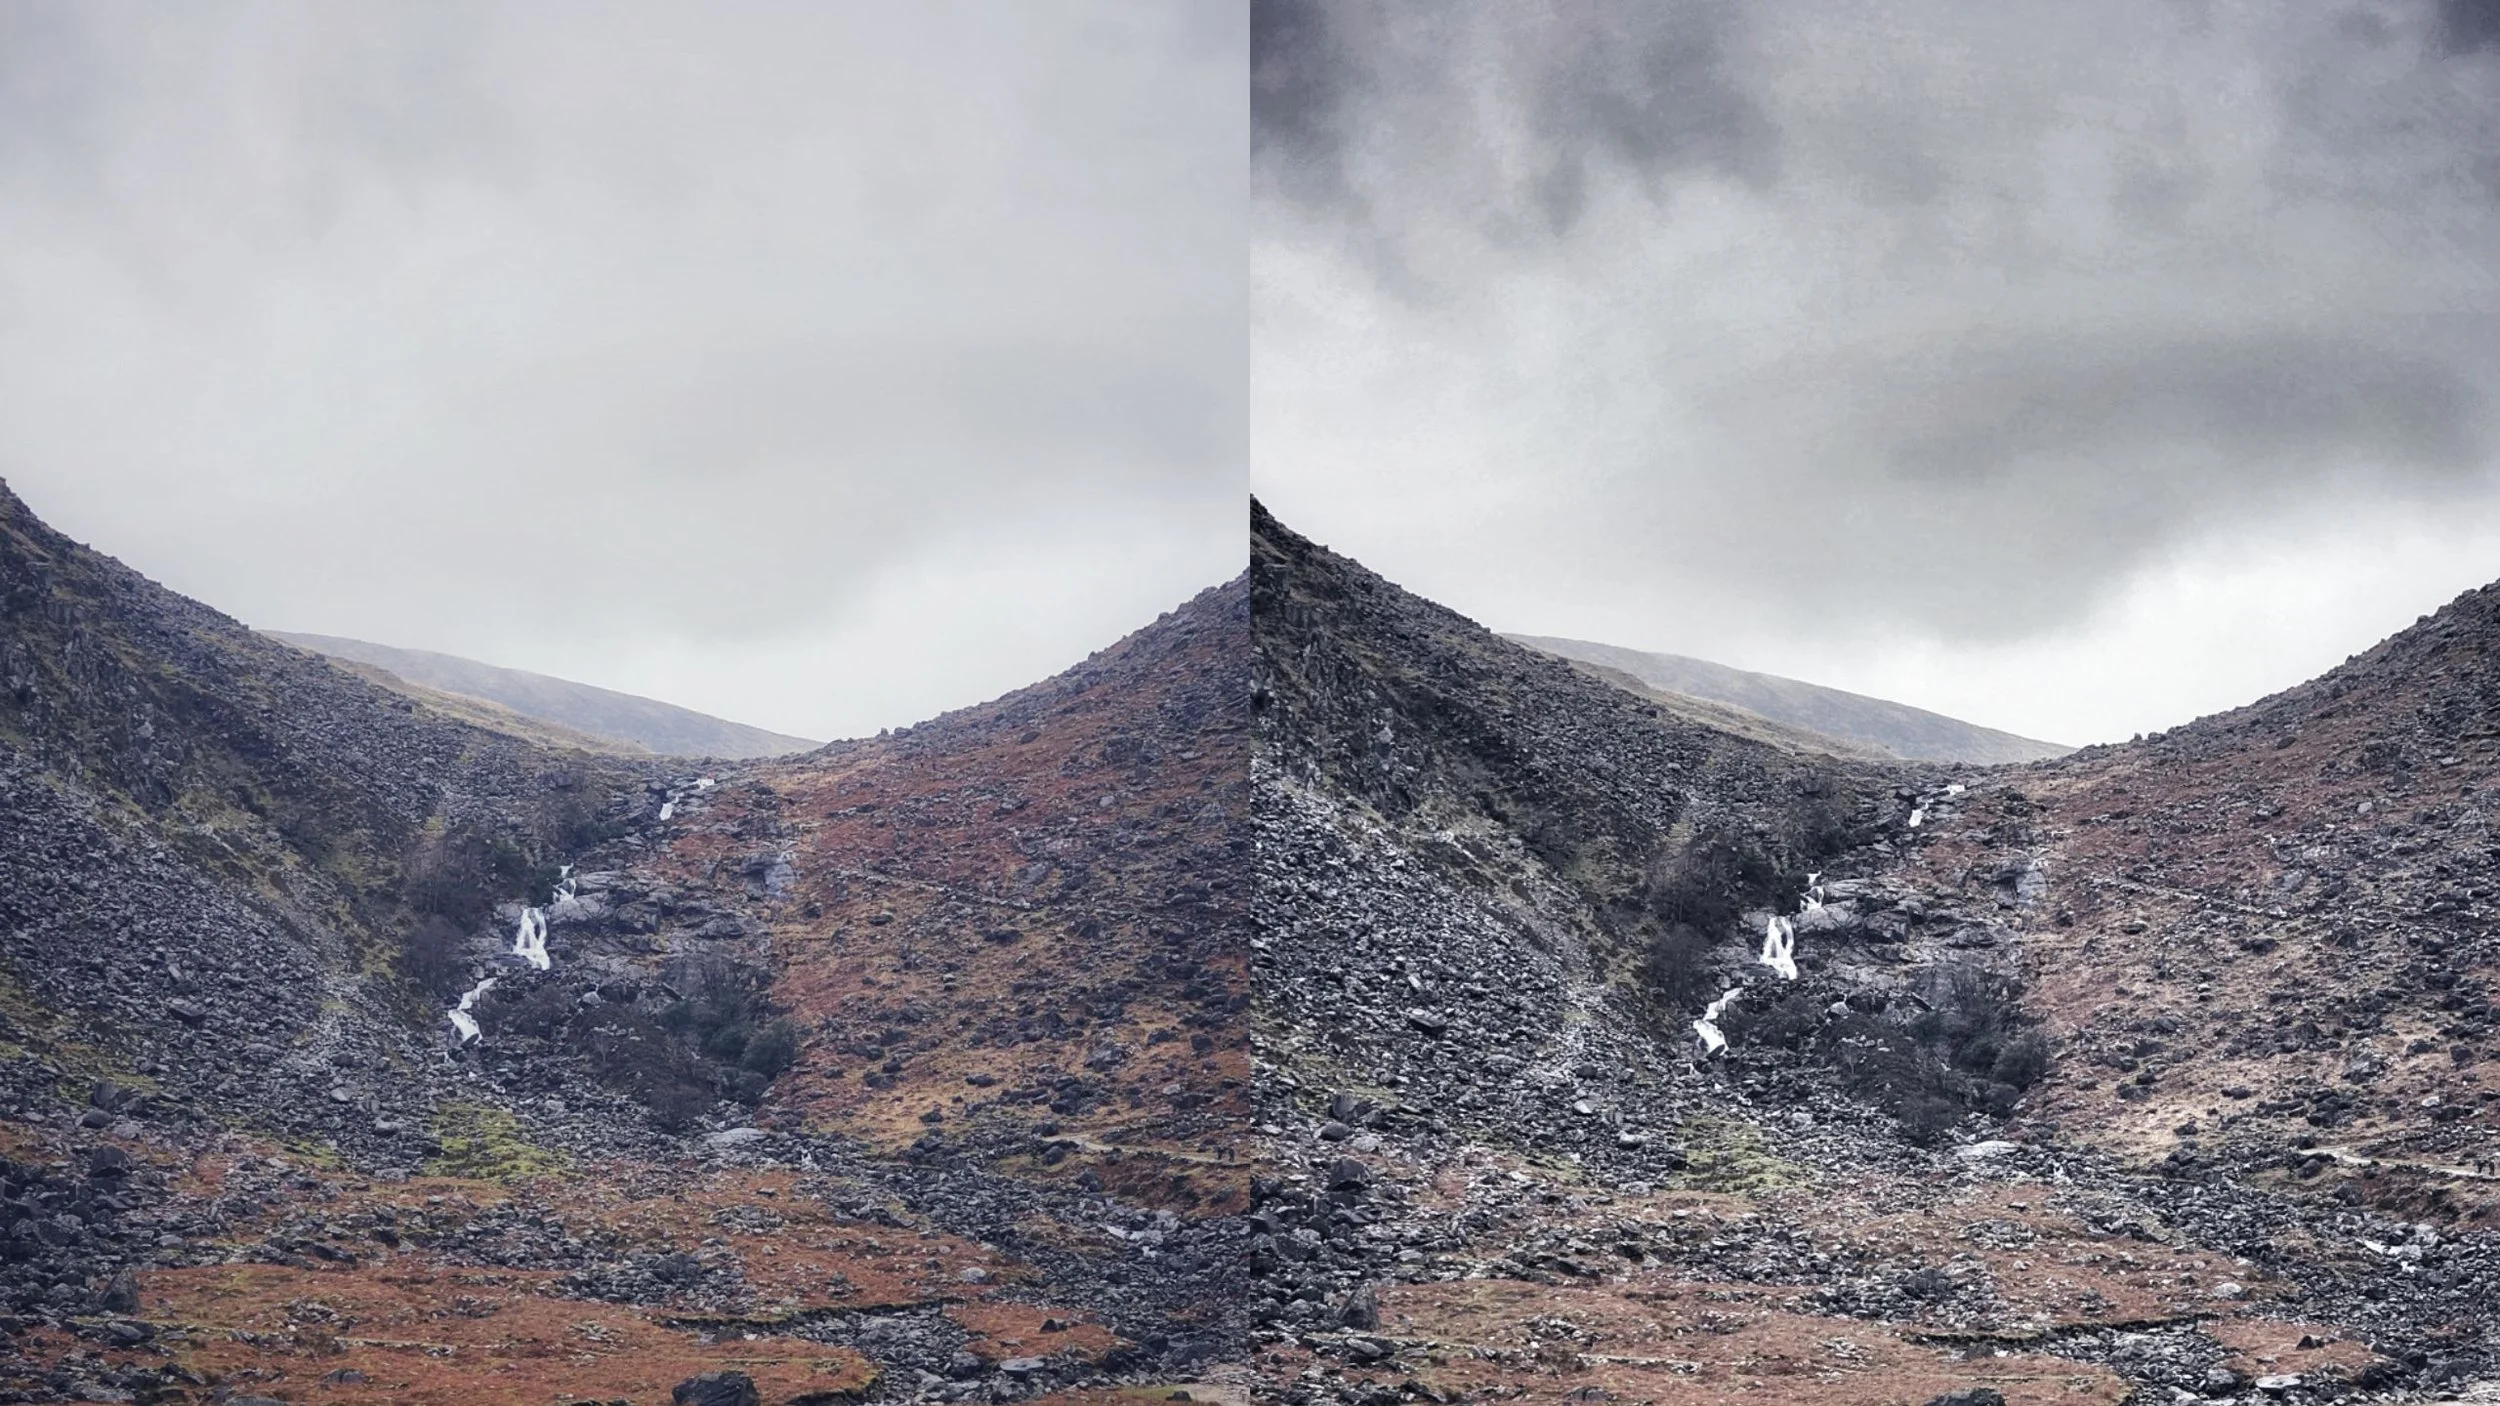
Now the edit has only been applied to the sky that I “painted” with the red overlay. You can see the sky full of drama, but the mountainside below remains untouched.
Phase 3: Practical Scenarios for Irish Photography
I use this technique on almost every shot I take for Pocket Ireland. Here is how you can apply it:
1. The "Glowing Mushroom" (Macro) When shooting fungi on the forest floor, the background can be distracting.
The Edit: Use Lens Blur or lower the exposure globally.
The Mask: In View Edits, click the mask icon. Then, press the Invert button (the circle/triangle icon next to the close button). This applies the blur/darkness everywhere.
The Brush: Set the brush to 0 (Eraser) and paint over the mushroom. Now, the mushroom is sharp and bright, while the rest of the forest falls into moody darkness.
2. The "Irish Sky" Rescue
The Edit: Use Drama or HDR Scape to pull detail out of those grey clouds.
The Mask: These filters often make green grass look nuclear and fake. Use the masking brush to paint the HDR effect only onto the sky, keeping the landscape natural and lush.
The Verdict
You don't need a heavy DSLR and a tripod to capture the soul of Ireland. You just need to understand light. By using the Masking Brush, you are manually controlling the light in your image, creating depth and guiding the viewer's eye exactly where you want it to go.
So, next time you're out in the rain waiting for that perfect shot, don't just slap a filter on it. Mask it.
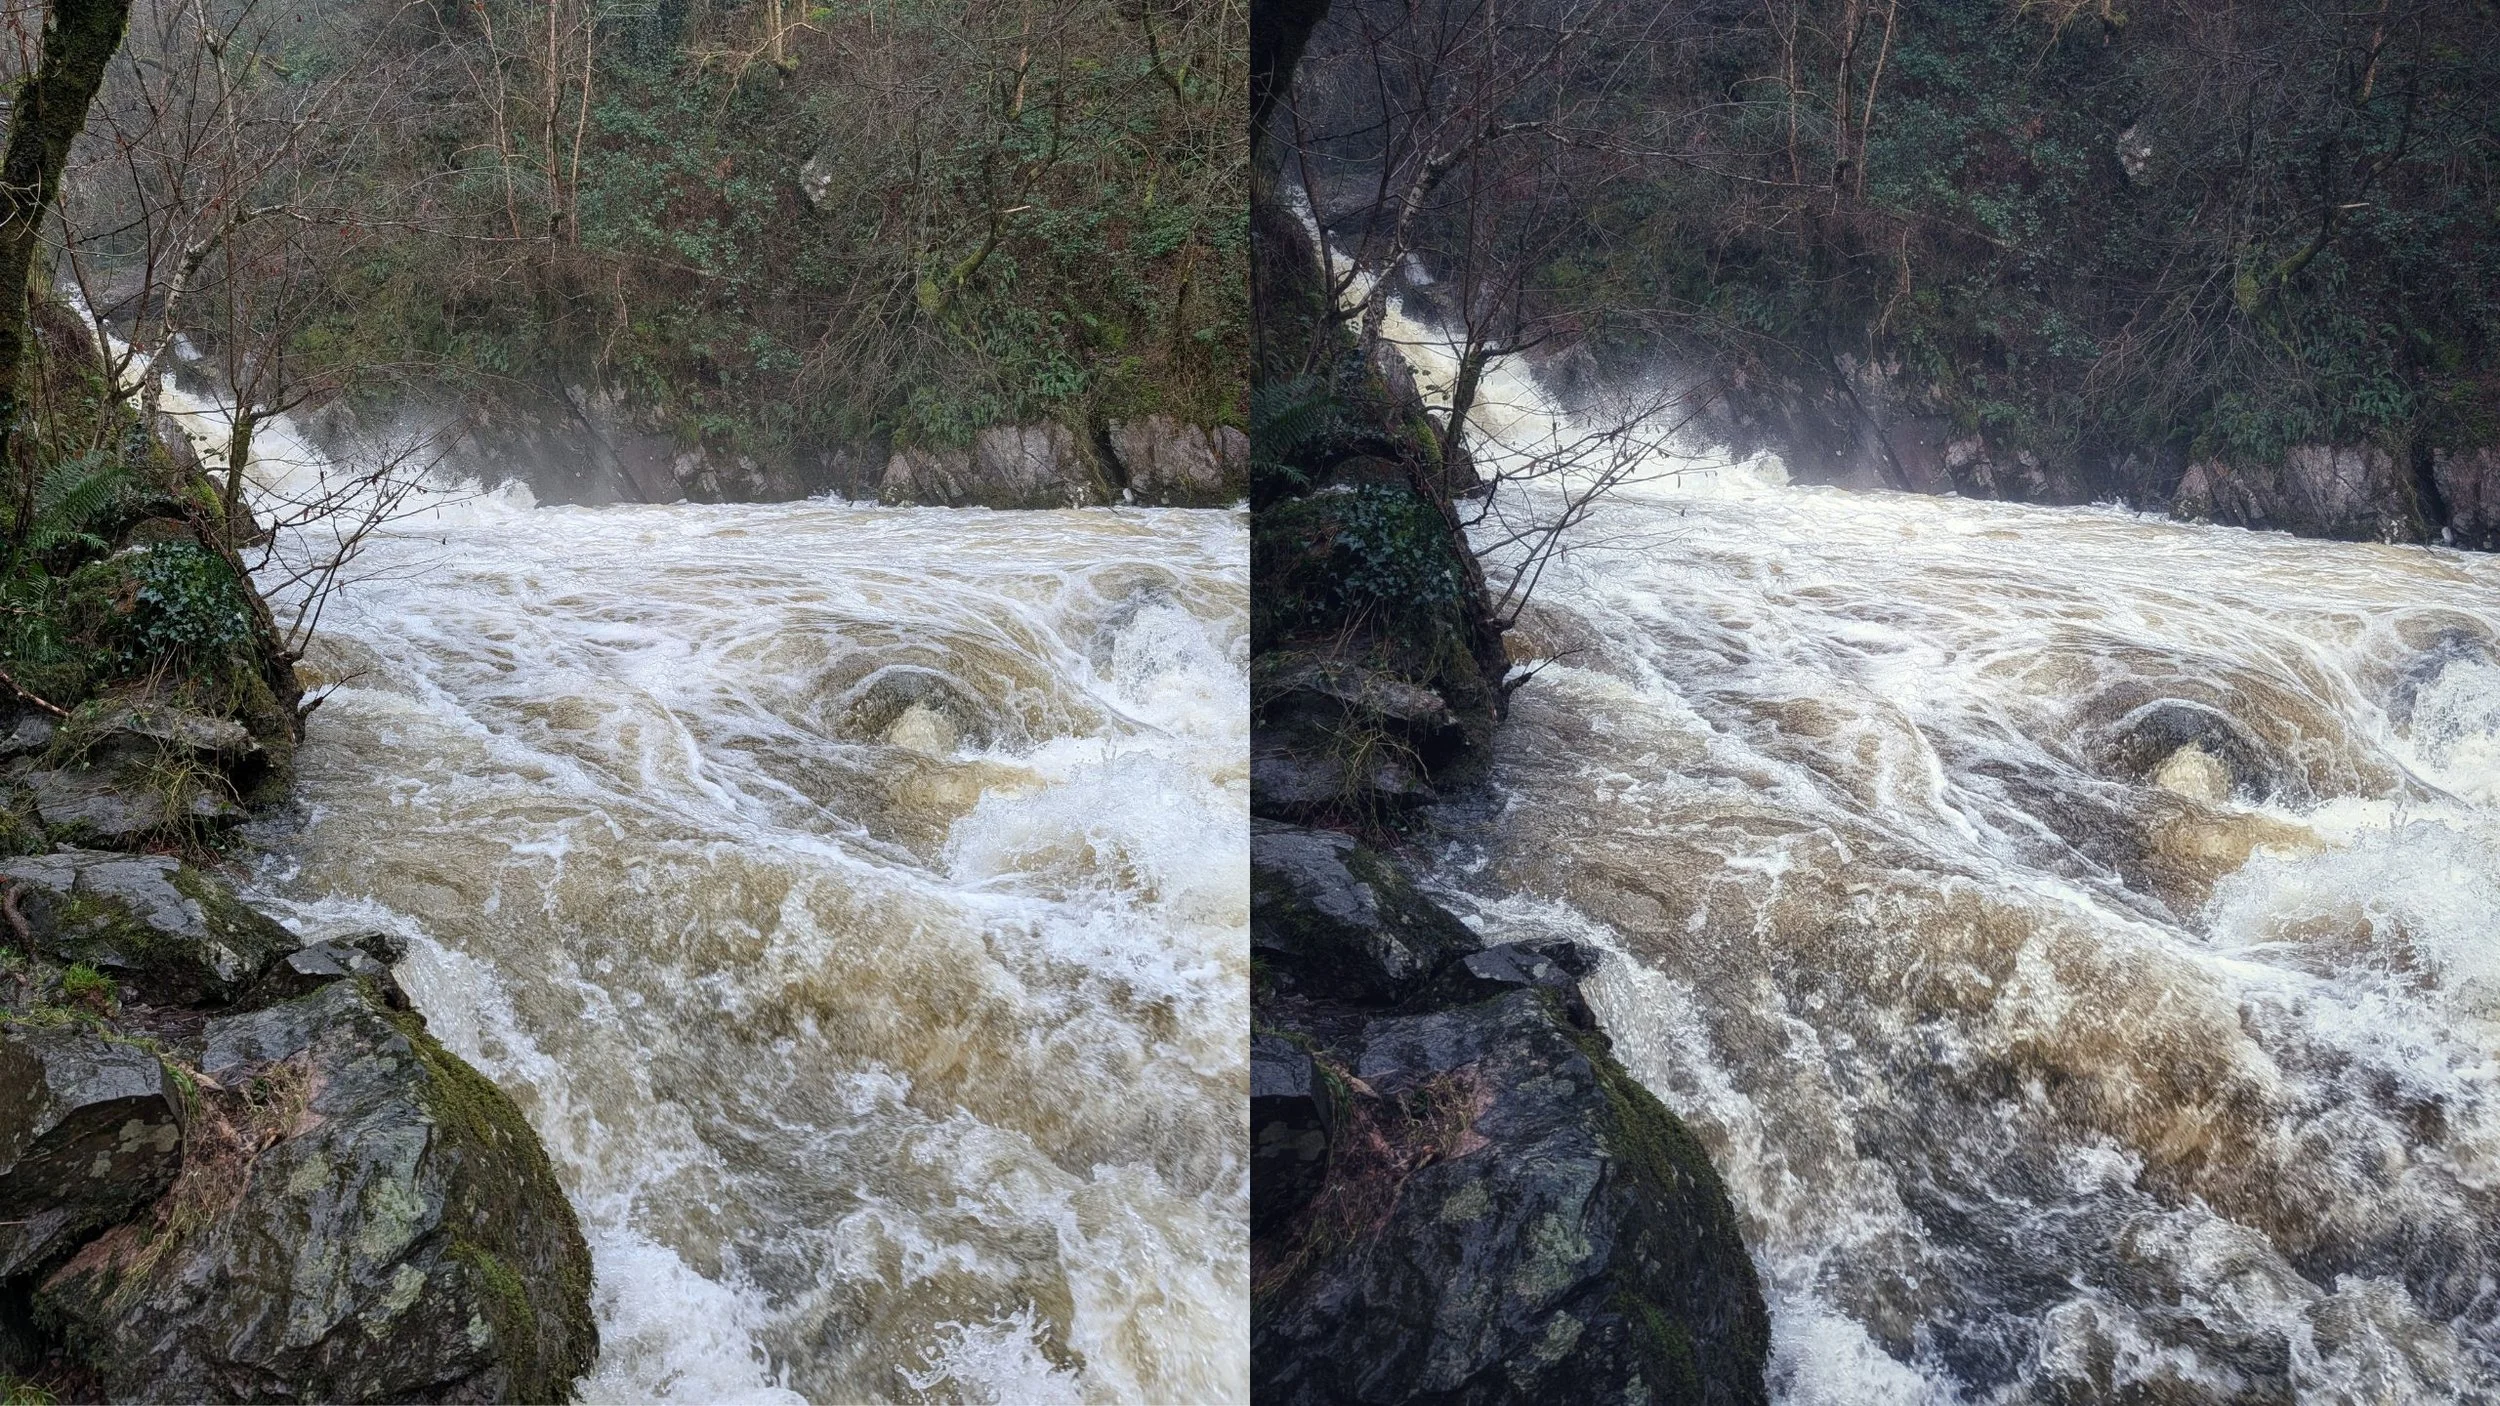
I used the Masking Brush on this picture (right) to increase the structure and contrast in the water alone. Then I applied a few additional edits to the overall image to make the finished photo.